This puzzle book is one of Bo Bunny's winter CHA releases, and I'll admit, was quite overwhelming at first. I wanted it to be just perfect, because it's such a sweet idea.
As I did it up for Michele at Scrapbook Shenanigans, I wanted it to be not just OK, i wanted it to be GREAT. And as it's likely that my nephews will see it, it couldn't just be great, it had to be AWESOME!!! No pressure hey!
I had a look around online and saw that a lot of people had used bits and pieces of it, or stuck it all together as a full page, but it didn't quite inspire me.
I went the whole hog, and here you have a 3 way puzzle/mini album/page layout!
Firstly, I stuck down an enlarged photo of my nephews on the plainer side of the puzzle. (aren't they cute!)
I then gritted my teeth, and cut through the photo so I could separate them into puzzle pieces. (Am I the only one who hates cutting through people in photos?)
Once that was done, I used one of the coordinating cardstock stickers to add a title to the puzzle. I chose to keep it simple on this side, as I didn't want to have too many elements that might fall off. Stickers were a pretty safe bet!
Once that was all good to go, I turned it over and reassembled the puzzle. I had a whole stack of photos from when the boys were playing silly buggers on our trampoline, so I printed them off as both wallet sized and "contact sheet" sized photos, so I could pick and choose which photos to use, in which sizes. It made assembling the book so much easier, to have that choice at my fingertips, rather than having to have to reprint if I wanted a different size.
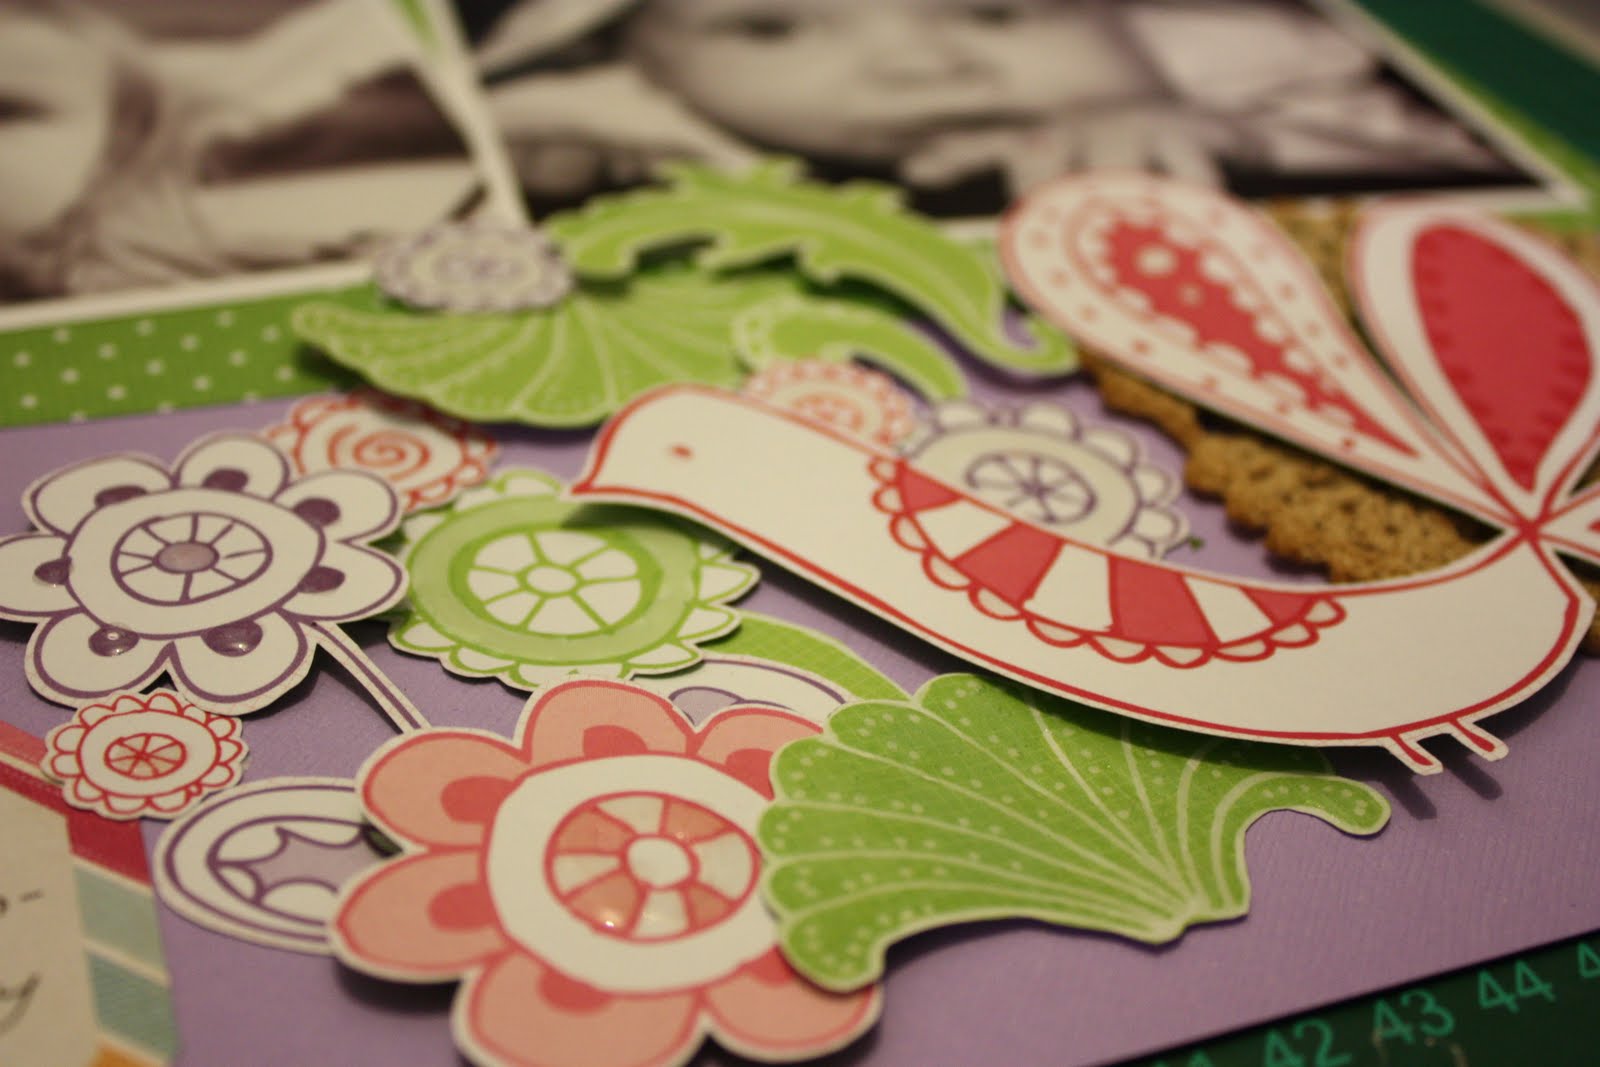
I added titles using a little Dymo "caption maker" machine, (the old school variety, so it gives a pressed out letter rather than a printed letter), and added some embellishments that I cut from some of the coordinating papers, and from the stickers. (I found the stickers were a bit big to use to embellish the puzzle pieces on their own).
I then detailed some of the elements with a bit of glossy accents, and added a little piece of metallic silver ribbon to the tag on the top puzzle piece.
I'm super excited about this, I think this may well be the first mini album that I've completed that I actually like, let alone love!
And now for the three way demonstration...
Puzzle,
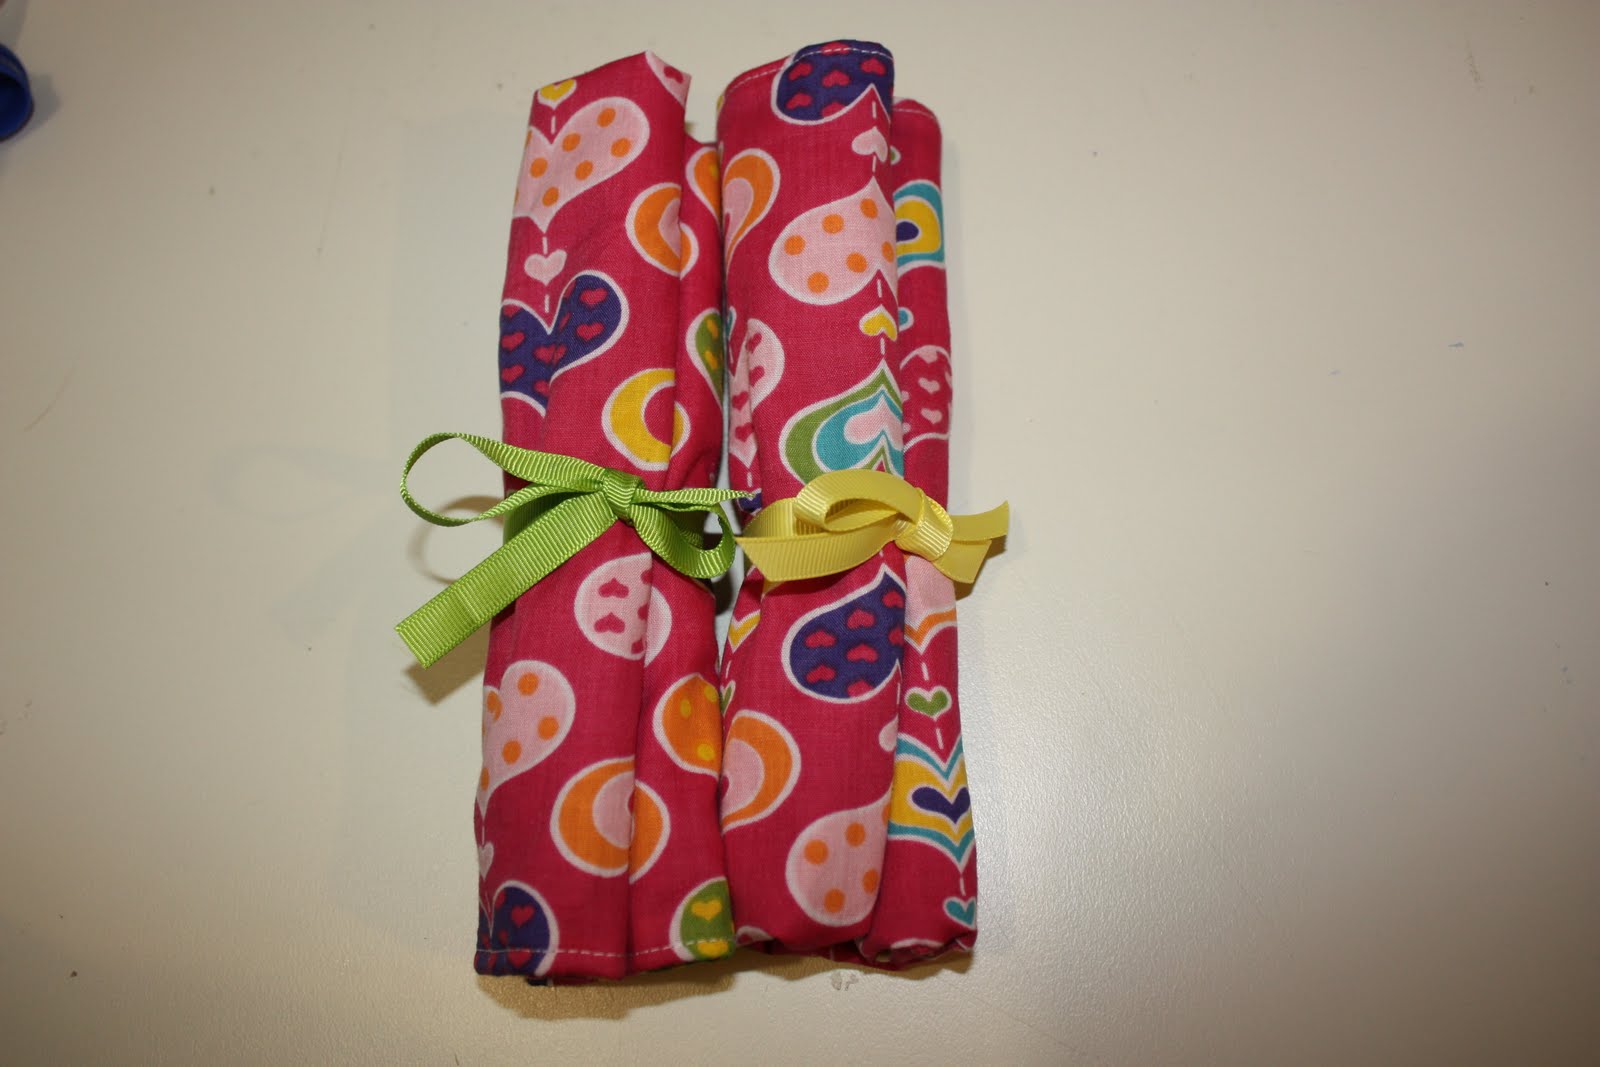
Mini Album,
Scrapbook layout!
Yay!
x Rita