If you've found this page through google, it's probably because I wasn't able to find a tutorial for these, so made up my own! I saw a picture of them, fell in love, and madly googled for a tutorial, but to no avail...
(and if you're a first time visitor here, welcome! If you like what you see here, become a follower, and keep updated with all the little things I make!)
First of all, for this project, you'll need 12 doilies of the same size. I used small ones for this project, just the cheapie paper ones are perfect. If you like, you can dye your doilies using a concentrated dip of food colouring and water, and then leave them to dry completely before starting.
If, like me, you're impatient, you can decide that you love the look of white ones, and get cracking!
Take 6 of your paper doilies, and pin them together in the centre using a brad (paper fastener). Now gently cup the first layer of doily into a tight little flower.
Repeat with each of the first 3 layers.
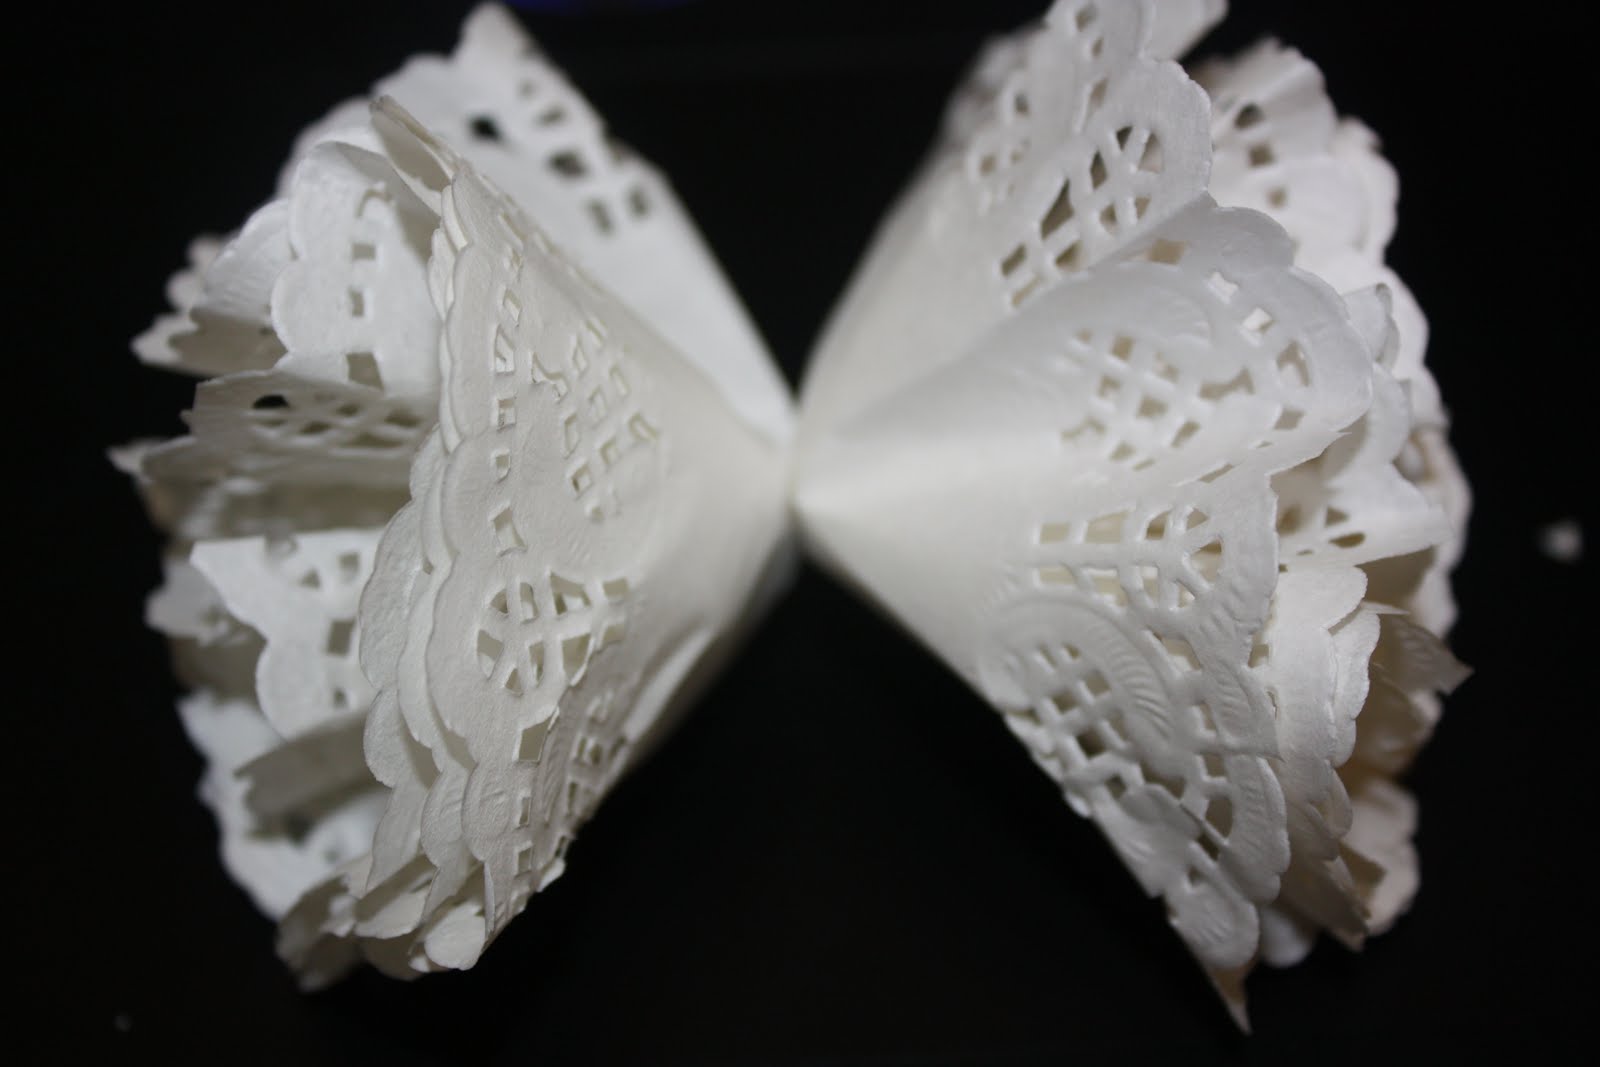
Turn the stack over, and start from the other side, exactly as you did before. You'll end up with something that looks like this...
Taking your remaining 6 doilies, repeat the process, until you've got two ruffly little pieces.
Now, take a piece of string, and tie the two halves together through the centre. This string will be your hanging string too, so if you want to be all pretty, a piece of ribbon or coloured twine would be perfect.
Finally, fluff the pom pom up with your fingers until you're happy with it!
Now rest on your laurels while everyone else admires your fabulous doily pom poms!
(forgive my dodgy background, I'm in a bit of a hurry tonight!)
If you were making a larger one of these, you might consider using a few more layers if it doesn't look full enough.
I sprayed mine with a little bit of pink glimmermist to add some shimmer, though you can't see it very well on the photos. In this last photo, the doilies are a bit damp - once it dries I will be able to fluff them up some more :)
Happy making!
x Rita


12 comments:
yay - thank you very much. And what a co-incidence - I was born in Townsville. Thanks for that, I will be buying some more paper doilies as soon as I can!!!
They look awesome! It would be a great craft to do with the kids! Where do you get paper doilies from?
You can get big packs at the $2 shops Lisa :) All different sizes too!
I'm so grateful you made this tutorial! I saw them somewhere else, too, and I couldn't find the "how to" part of the equation. I'll be using them for a "Year 12 Formal Do-Over 21st Birthday". Doing dress and decorations right the second time round! :P
Thank you so much!!!
This is awesome Rita! Thanks so much for posting this tutorial... I've been looking everywhere for something like this.
I'll be making some of these to hang at my high tea / mad hatter's tea party.
Coincidentally I live in Townsville too! Small world ;)
Admiring the time and effort you put into your blog and detailed information you offer! I will bookmark your blog and have my children check up here often. Thumbs up!Miu Miu Scarves,Paul Smith Scarves,Canada Goose Coats
Thank you thank you thank you for this amazing tutorial! I saw pics of doily pom poms on pinterest and it has taken me forever to find a tutorial for them! I have just made one with my dyed pink paper doilies and it looks wonderful!
Thanks again! When I post pics on my blog, I'll definitely link to yours when I do a post about them xxx
This is a wonderful tutorial! Thanks for taking the time to write it and compile all the photos. I'm guessing you've made a lot of people very happy!
I have a few logistical questions. What size (diameter) are the doilies you used? Is there a certain kind of brad that you would recommend? Also what kind of food coloring (and water ratio) did you use to dye them? Thanks very, very much for your help!
Thank you so much for posting these instructions. I'm going to make them for my wedding.
has anyone tried this method because it doesn't seem to be working for me.
Found you from Pinterst! Thank you for sharing this tutorial...XoXo
Thankyou so much for your tutorial :) i didnt have fasteners so hand stitched the doilies together, worked a treat as 'clouds' for my little girl's puddle party :)
Post a Comment